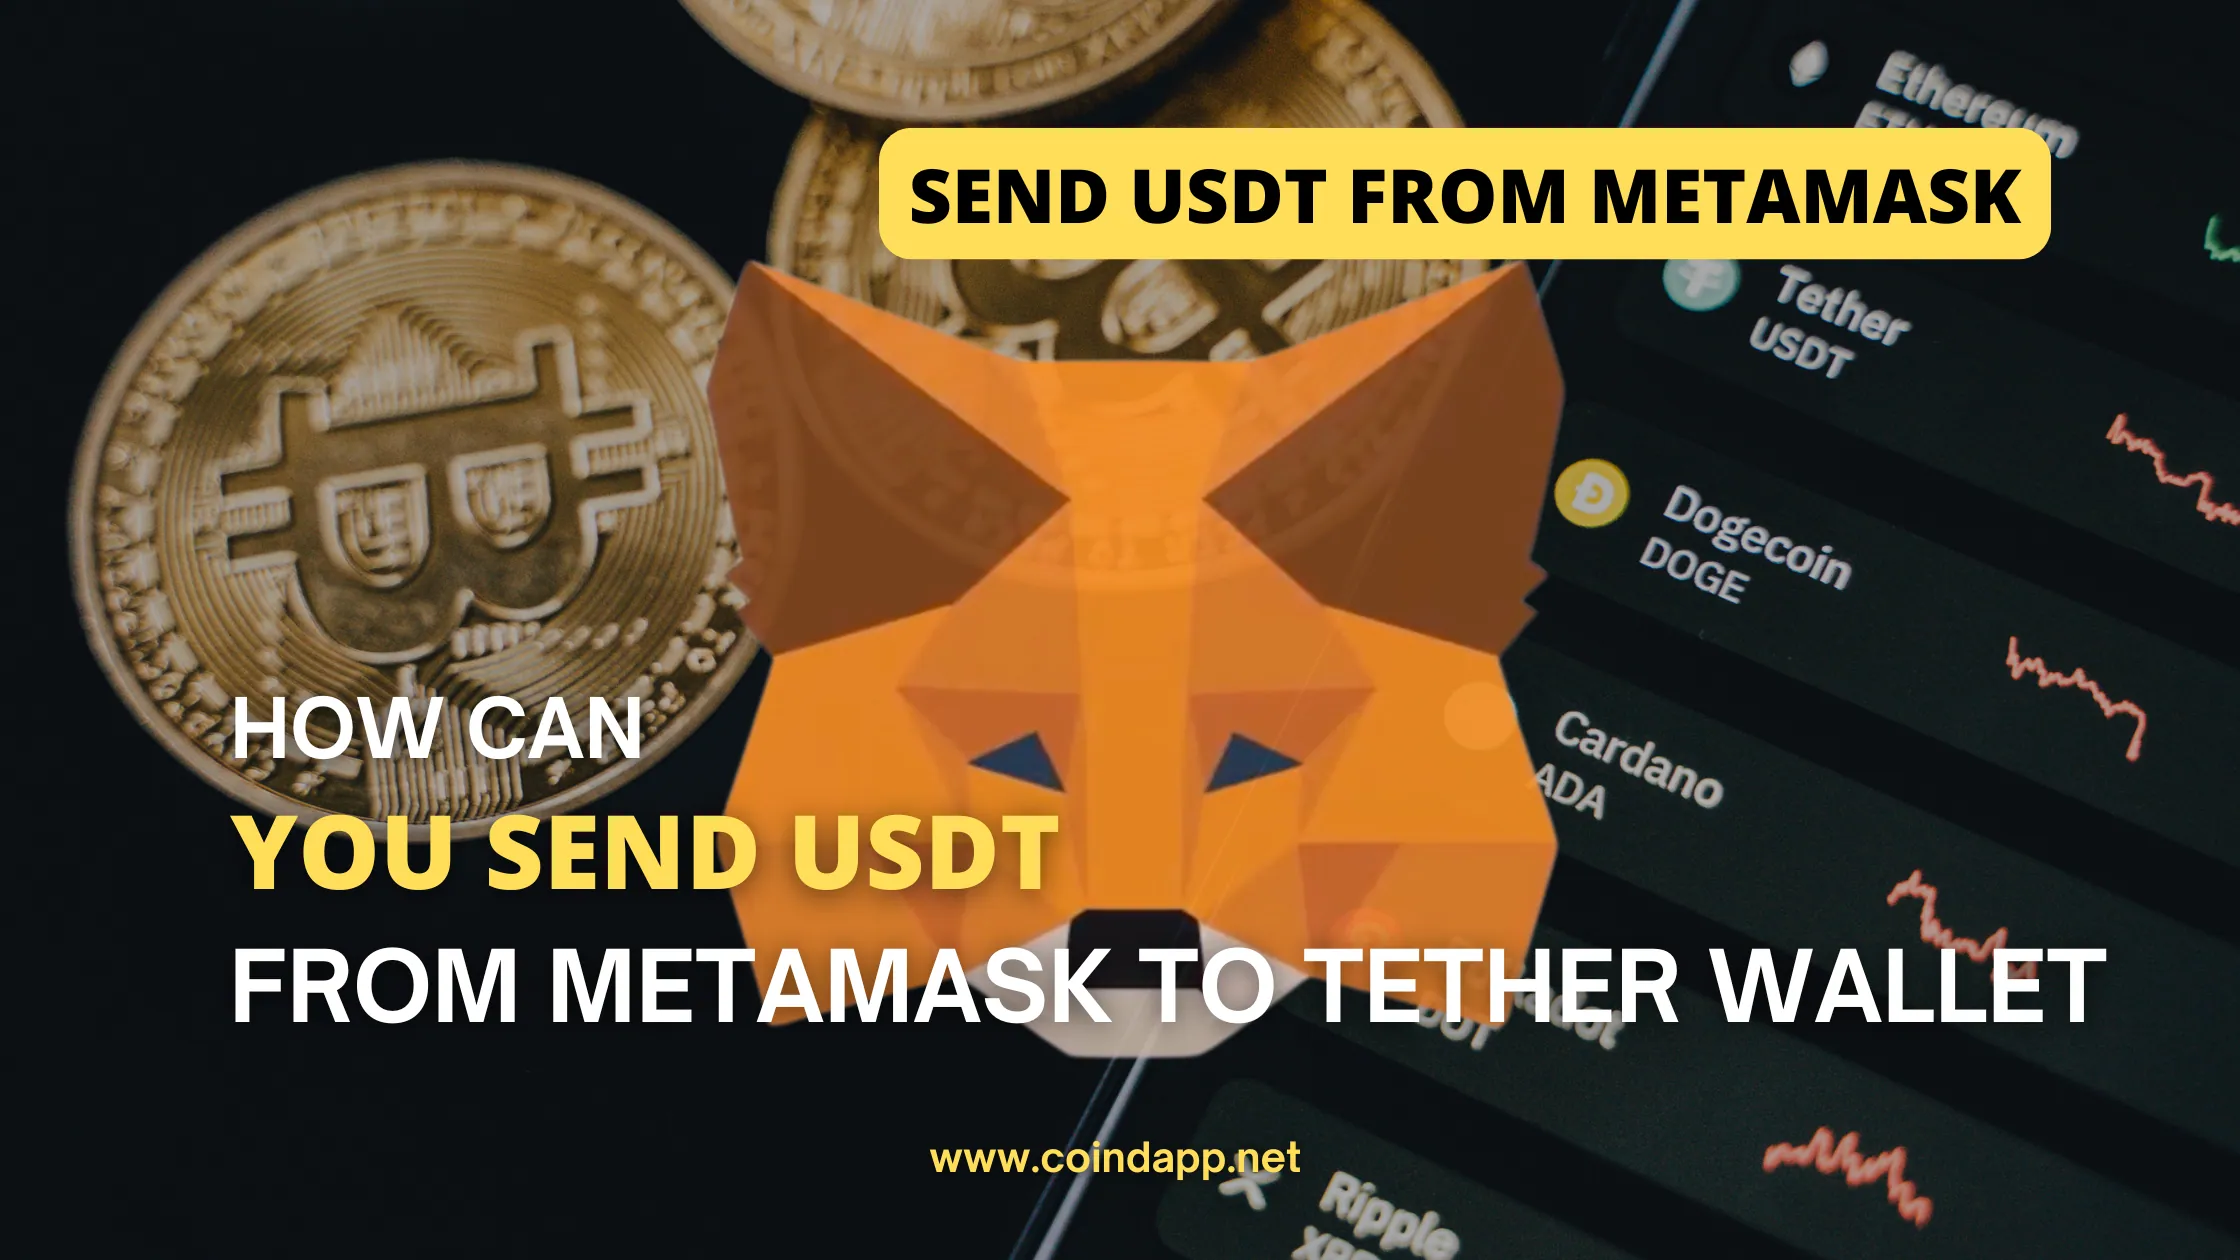
Sending USDT (Tether) from MetaMask to your Tether Wallet is a relatively straightforward process, but you must follow the correct steps to avoid errors and potential loss of funds. MetaMask, as a popular Web3 wallet, allows users to store and transfer assets like USDT across various blockchain networks. However, to send USDT safely, you must ensure that both wallets support the same network (e.g., Ethereum or Binance Smart Chain).
In this guide, I’ll walk you through each step, offering expert insights and tips on avoiding common mistakes. With my experience in crypto transfers, I’ll provide you with all the essential information you need to securely send USDT from MetaMask to your Tether Wallet.
Table of Contents
Step-by-Step Guide: Sending USDT from MetaMask to Tether Wallet
Step 1: Verify Your Blockchain Network
Before you transfer USDT from MetaMask, it’s crucial to confirm which blockchain network you are using. USDT is available on multiple blockchains, such as Ethereum (ERC-20), Binance Smart Chain (BEP-20), and others. MetaMask supports these networks, but your Tether Wallet must support the same network to avoid losing funds.
Step 2: Copy Your Tether Wallet’s USDT Address
Once you’ve verified the network, log in to your Tether Wallet and locate the USDT deposit section. Copy the USDT wallet address, ensuring you’re copying the address for the correct network (e.g., ERC-20 for Ethereum).
Step 3: Open MetaMask and Select the Correct Network
Open your MetaMask wallet and select the same network as your Tether Wallet. For example, if your Tether Wallet uses Ethereum, ensure you’ve selected the Ethereum network on MetaMask.
Step 4: Send USDT from MetaMask
- Go to the “Send” option in MetaMask.
- Paste the USDT deposit address you copied from your Tether Wallet.
- Enter the amount of USDT you wish to send.
- Double-check the network and address for accuracy.
Step 5: Confirm the Transaction
Review the gas fees and confirm the transaction on MetaMask. Once submitted, you’ll be able to track your transaction status on a blockchain explorer, like Etherscan for Ethereum-based transfers.
Network Compatibility: A Crucial Aspect to Remember
One of the most common mistakes users make when transferring USDT from MetaMask to Tether Wallet is sending the tokens through an incompatible network. For example, if your Tether Wallet supports USDT on the Ethereum network, but you send it via the Binance Smart Chain (BEP-20), the funds might not appear in your Tether Wallet.
Avoid common mistakes by verifying your network compatibility beforehand.
Gas Fees When Sending USDT
Sending USDT on MetaMask incurs gas fees depending on the network. Ethereum’s gas fees, for instance, tend to be higher than Binance Smart Chain’s. It’s always a good idea to check the current gas prices on platforms like GasNow to make sure you’re paying a reasonable fee.
Using MetaMask Safely: Security Tips
- Always double-check the recipient’s USDT address.
- Ensure your MetaMask wallet is secure by enabling two-factor authentication (2FA) where possible.
- Never share your private keys or seed phrases with anyone.
For more tips on securing your MetaMask wallet, visit this guide on wallet security on CoinDapp.
Conclusion: Send USDT from Metamask to Tether Wallet
Sending USDT from MetaMask to Tether Wallet is a process that requires attention to detail, especially in ensuring network compatibility. With the right approach, this transfer can be done quickly and safely. Always check the network type, review your recipient’s address, and be aware of gas fees to avoid any costly mistakes. By following this guide, you can confidently handle USDT transactions between MetaMask and Tether Wallets.
If you’re looking for more in-depth guides on managing crypto assets or want to stay updated on the latest in blockchain technology, explore Coindapp’s blog for expert tips and insights.